As electric vehicles (EVs) continue to gain popularity, more homeowners are making the switch, and with that comes the need for reliable, at-home charging. While public charging stations are expanding, nothing beats the convenience of plugging in overnight in your own garage. But before you purchase an EV charger, there’s one important question to consider: Is your home’s electrical system ready for it?
In this guide, we’ll cover everything you need to know to prepare your home for EV charging station installation in Denver — from panel capacity and permits to choosing the right charger and working with a licensed electrician.
Understanding the Power Needs of an EV Charger
The first step in preparing your home is understanding how much power an EV charger requires. EV chargers come in different levels:
Level 1: Standard Outlet (120V)
- Uses a regular household outlet
- Adds 3–5 miles of range per hour
- Fine for hybrid vehicles or very short commutes
- No upgrade typically needed
Level 2: 240V Outlet
- Requires a dedicated 240-volt circuit (like an electric dryer)
- Adds 20–60 miles of range per hour
- Ideal for overnight charging
- Most EV owners prefer this option for convenience and speed
Because Level 2 chargers draw much more current than standard appliances, your home’s electrical system must be assessed to ensure it can handle the additional load.
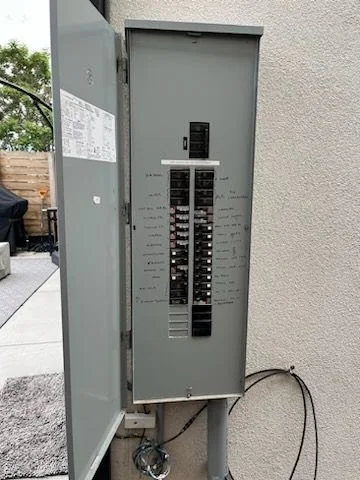
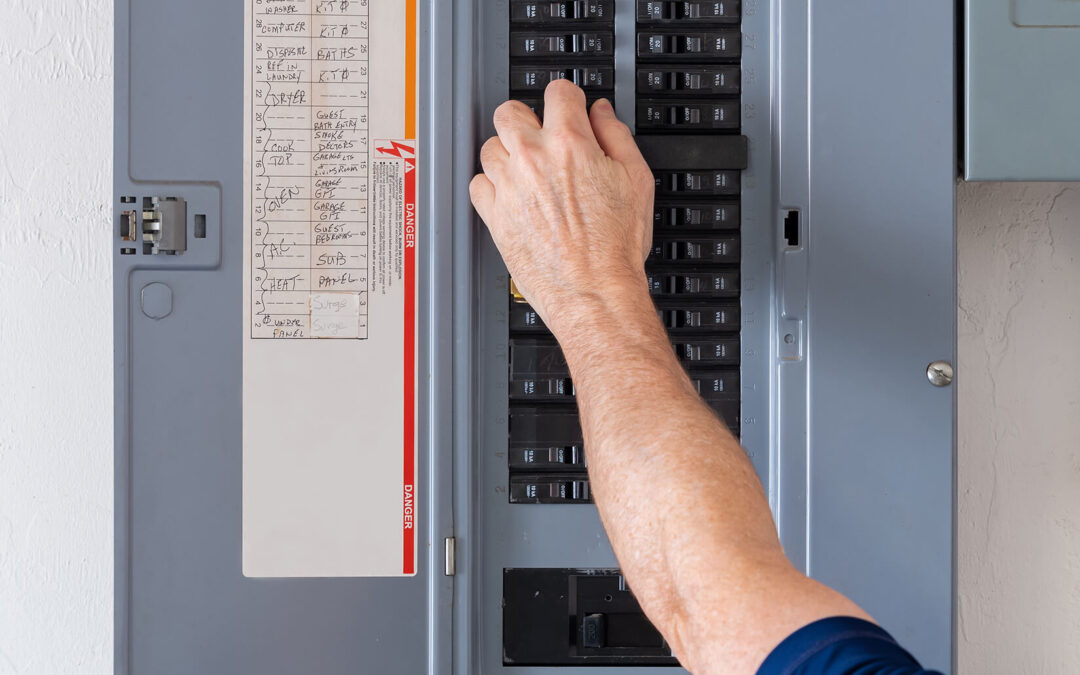
Step 1: Assess Your Electrical Panel Capacity
This is where preparation really begins. Most homes built before 2000 are equipped with 100-amp panels, which may not have enough headroom for an EV charger, especially if you also use electric heating, air conditioning, or appliances. Newer homes often have 200-amp panels, which are more EV-ready.
Signs You May Need an Upgrade:
- Your panel is already close to max capacity
- You have frequent tripped breakers
- You plan to install other high-powered devices (e.g., a hot tub or heat pump)
- You live in an older home with outdated wiring
A licensed electrician can calculate your home’s load capacity to determine if your panel can support a new 240V circuit. If not, a panel upgrade will be needed before moving forward.
Step 2: Choose the Right Charger
Not all EV chargers are created equal. You should select one that matches your vehicle and lifestyle. Here are some of the things you should consider:
- Charging speed (how many miles per hour you want)
- Cable length and placement in the garage or driveway
- Smart features, such as Wi-Fi control or scheduled charging
- Brand compatibility with your EV (e.g., Tesla, Ford, Chevy)
Once you’ve selected a charger, your electrician can assess the electrical requirements, including amperage, circuit breaker size, and wiring gauge.
Step 3: Plan the Installation Site
Your EV charger should be located somewhere safe, accessible, and out of the elements. Popular spots include:
- Inside the garage (ideal for protection and convenience)
- Exterior wall near the driveway
- Carport area with weatherproof enclosure
Make sure your installation site:
- Is within reach of your electrical panel (shorter wire runs = lower cost)
- Has enough wall space to mount the charger
- Meets any local code requirements
Step 4: Ensure Code Compliance and Permitting
Most municipalities, including Denver and surrounding areas, require a permit for EV charger installation. Local building codes typically require:
- Dedicated 240V circuit
- Proper conduit and GFCI protection
- Grounding and surge protection
- Final inspection by a city or county inspector
Skipping the permitting process could void your warranty and become a liability issue if something goes wrong. Your electrician should handle this process for you.
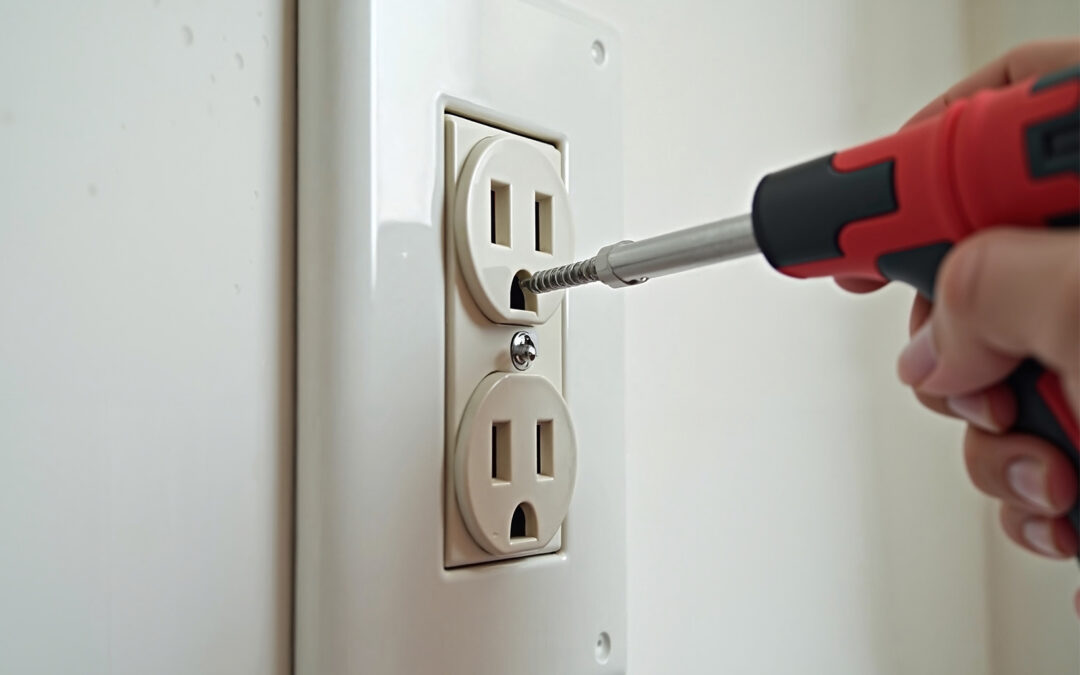
Step 5: Hire a Licensed Electrician
This is the most important step. Installing a 240V circuit is not a DIY job. Working with high-voltage electricity can be dangerous and costly if done incorrectly.
A licensed electrician will:
- Perform a full load calculation
- Upgrade your panel if needed
- Install the dedicated circuit safely and efficiently
- Pull permits and coordinate inspections
- Test the charger and verify proper operation
Look for electricians specializing in EV charger installations who understand local code requirements. Bonus if they’re experienced with your specific vehicle’s needs.
What Does It Cost to Install an EV Charger?
The costs of installing an EV Charger varies depending on several factors:
| Factor | Estimated Cost Range |
| Level 2 Charger Unit | $300 – $800+ |
| Labor & Materials | $400 – $1,200 |
| Panel Upgrade (if needed) | $1,500 – $3,000 |
| Permitting Fees | $50 – $200 |
In total, you can expect to pay between $700 and $4,000+, depending on your home’s existing infrastructure and whether upgrades are necessary. However, some utility companies and local governments offer rebates or tax credits for EV charger installation. Be sure to ask your electrician about these programs!
Power Up with Table Mountain Electric
Installing an EV charger at home is a smart investment in convenience, sustainability, and long-term savings. But to do it right, your electrical system needs to be up to the task. From panel capacity and code requirements to placement and smart features, there are several steps involved, but the payoff is worth it.
If you’re ready to prepare your Denver-area home for an electric vehicle charger, Table Mountain Electric is here to help. With over 20 years of electrical experience, we specialize in residential EV charger installation, panel upgrades, and smart energy solutions. We’ll handle the entire process from consultation to inspection, so all you have to do is plug in and go. Request a free quote today and let our licensed electricians ensure your home is EV-ready.

Table Mountain Electric
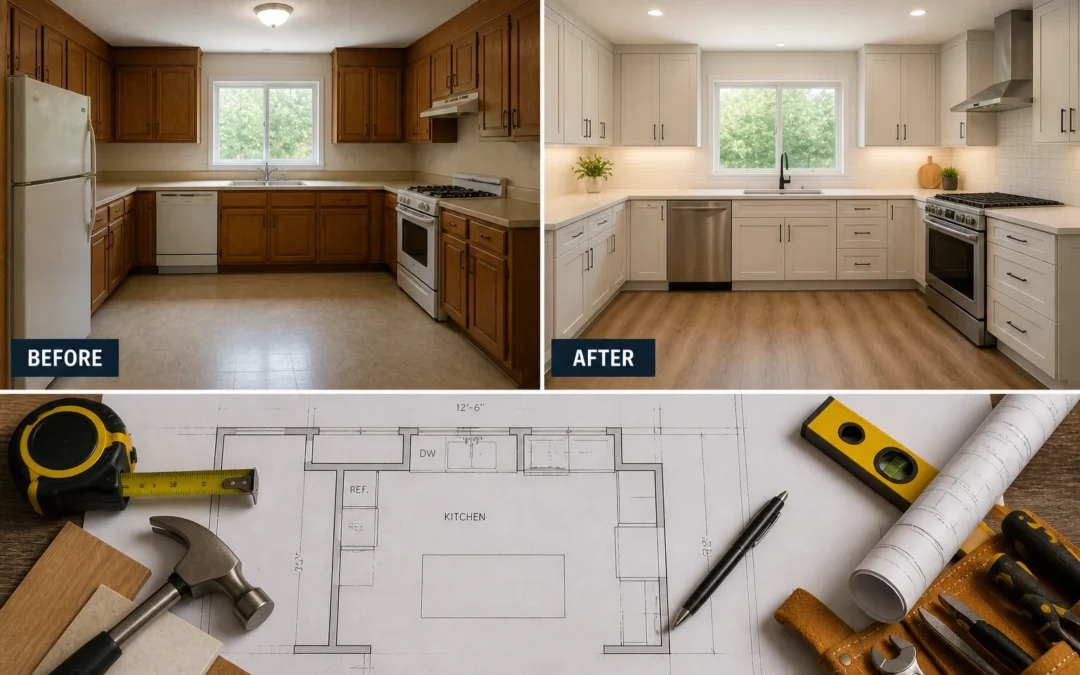
Table Mountain Electric Inc. is Denver’s trusted name in premier electrical solutions. From essential services such as electrical panel upgrades and panel replacements to intricate kitchen wiring for your renovation needs, our expertise shines through in every project.