Outdoor lighting is one of those home upgrades that pays off fast. It makes your yard safer to walk through at night, adds curb appeal, and helps deter unwanted visitors. But remembering to turn those lights on and off every day? That gets old quickly. A timer solves that problem by automating your lighting schedule so your home looks lived-in and welcoming without you lifting a finger.
In this guide, we’ll walk through the most common ways to set up timers for outdoor lights, what tools you’ll need, and when it’s smart to call a licensed electrician instead of tackling it yourself.
Why Use A Timer For Outdoor Lighting?
Before getting into the how-to side, it helps to understand why timers are worth the effort.
- Convenience: Lights turn on and off automatically, even when you’re out of town.
- Safety: Pathways, steps, and entrances stay lit when you need them most.
- Energy Savings: Timers prevent lights from running in daylight or all night unintentionally.
- Security: A predictable schedule discourages trespassing and makes the property look occupied.
- Longer Bulb Life: Fewer wasted hours means fewer replacements.
A timer can be used with porch lights, driveway lights, landscape lighting, deck lights, and even holiday setups.
Choose The Right Timer For Your Setup
There are three main timer options for outdoor lights. The right one depends on how your lights are powered and how much control you want.
Plug-In Outdoor Timer
Best for: string lights, holiday lights, or anything plugged into an exterior outlet.
A plug-in timer is the simplest option. It plugs into your outdoor GFCI outlet, and your lights plug into the timer. Many models are weather-resistant and designed specifically for outdoor use.
Pros:
- No wiring required
- Inexpensive
- Easy to adjust or remove
Cons:
- Only works with plug-in lights
- Outlet has to be accessible and protected from water
In-Wall Switch Timer
Best for: porch lights, garage lights, floodlights, or hardwired exterior fixtures controlled by a wall switch.
This replaces your existing wall switch with a timer switch. You set a schedule, and it controls whatever fixtures that switch powers.
Pros:
- Cleaner look than plug-ins
- Controls hardwired fixtures
- Often includes random or dusk-to-dawn modes
Cons:
- Requires basic wiring
- Not all homes have the correct wiring for certain timer types
Smart Timer Or Smart Switch
Best for: homeowners who want app control, voice control, or advanced scheduling.
Smart switches connect to Wi-Fi and let you control outdoor lights from your phone. Many also integrate with Alexa, Google Home, or Apple Home.
Pros:
- Remote control from anywhere
- Flexible schedules and automation
- Can sync with sunrise/sunset automatically
Cons:
- Requires strong Wi-Fi signal
- Slightly more expensive
- Setup can be tricky depending on wiring
What You’ll Need Before You Start
The tools vary depending on the timer type, but for in-wall and smart timers you’ll usually want:
- Flathead and Phillips screwdriver
- Voltage tester or multimeter
- Wire strippers
- Electrical tape
- The timer switch and its instructions
- A flashlight
Safety note: If you’re not comfortable working inside an electrical box, it’s better to stop here and call a licensed electrician. Outdoor circuits can be unforgiving if installed incorrectly.
Step-By-Step: Installing A Plug-In Outdoor Timer
This is the easiest method, and most homeowners can do it safely.
- Confirm Your Outlet Is GFCI Protected
Outdoor outlets should be GFCI. If yours has “Test” and “Reset” buttons, you’re good. - Choose A Weather-Rated Timer
Make sure the timer says it’s suitable for outdoor use. - Plug The Timer Into The Outlet
Push it in fully so it doesn’t wobble. - Plug Your Lights Into The Timer
Use the outlet labeled “Timer” or “Controlled.” - Set The Schedule
Mechanical timers use pins or tabs. Digital timers use buttons and a display. Follow the instructions for on/off times. - Test It
Most timers have an override or manual on/off test switch. Verify your lights respond.
That’s it. If you want more accuracy without adjusting seasonally, look for timers with dusk-to-dawn settings.
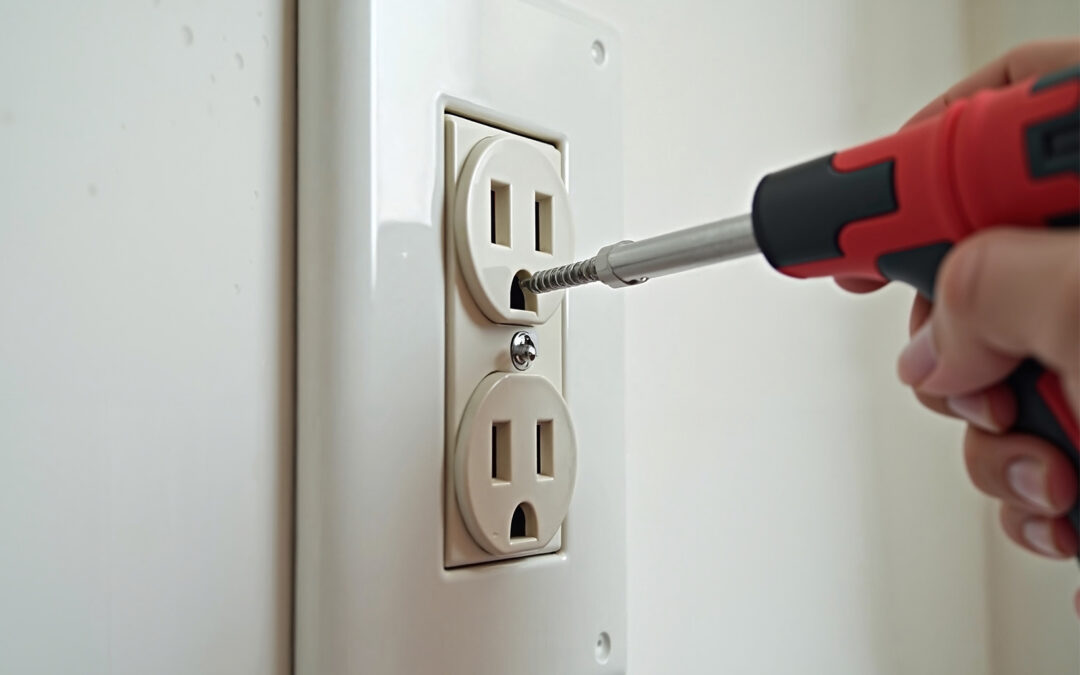
Step-By-Step: Installing An In-Wall Timer Switch
This is where things get more technical. If you go slow and follow safety basics, many homeowners can handle it, but don’t push past your comfort level.
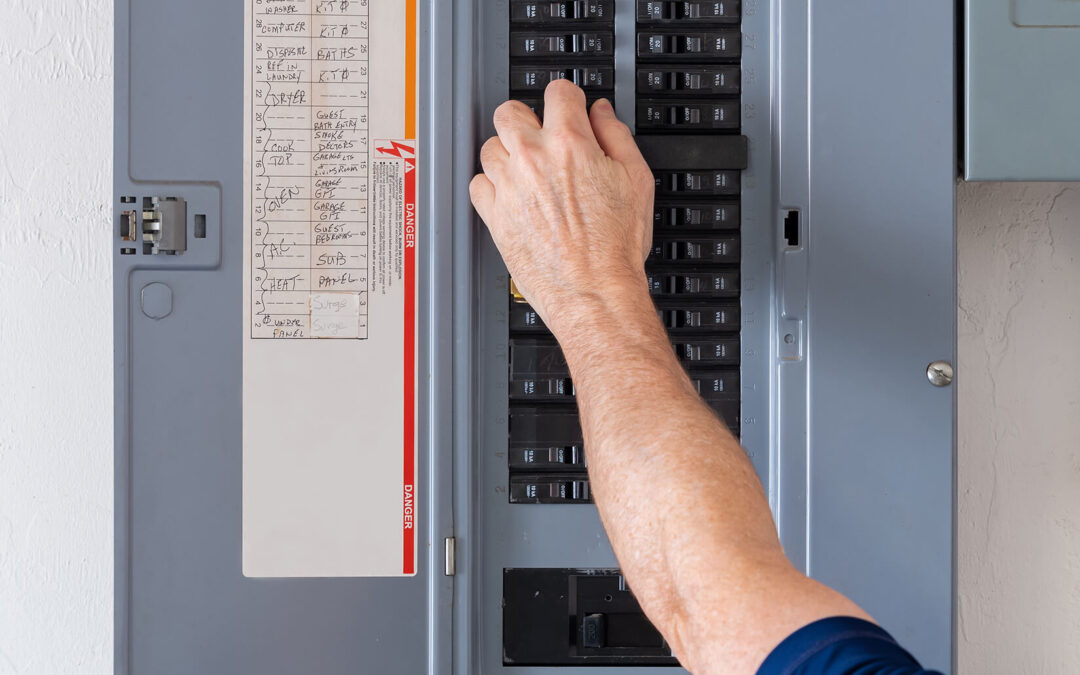
- Turn Off Power At The Breaker
Do not rely on the switch you’re replacing. Turn off the circuit at the panel. - Verify The Power Is Off
Use a voltage tester on the switch wires and the fixture. If there’s any reading, stop and re-check breakers. - Remove The Old Switch Plate And Switch
Unscrew the faceplate, then the switch. Gently pull the switch out to expose wires. - Identify The Wires
Most switches have:- Line (hot in)
- Load (hot out)
- Ground (bare copper or green)
- Neutral (white) if present
- Some timer switches require a neutral wire. If your box doesn’t have neutrals bundled in the back, you may need a different timer or a pro installation.
- Connect The Timer Wires
Use the timer’s labeling. Typically:- Line to line
- Load to load
- Neutral to neutral (if required)
- Ground to ground
- Tighten wire nuts firmly and wrap with electrical tape if needed.
- Mount The Timer And Replace The Plate
Tuck wires neatly back into the box, screw the timer in place, then attach the faceplate. - Restore Power And Program The Timer
Turn the breaker back on and follow the programming instructions. - Test Your Lights
Use manual override to confirm the timer is controlling the fixtures.
If anything feels off (flickering, buzzing, or heat), turn the power off and call an electrician.
Step-By-Step: Setting Up A Smart Timer For Outdoor Lights
A smart timer switch installs similarly to an in-wall timer, with a few extra steps:
- Confirm Wiring Requirements
Most smart switches require a neutral wire and a grounding wire. - Install The Switch Like A Standard Timer
Follow the same safety and wiring steps. - Connect To Wi-Fi
After restoring power, use the brand’s app to pair the switch. You’ll need your Wi-Fi password. - Name The Device
Use a clear label like “Porch Lights” or “Backyard Lights.” - Set Schedules Or Automations
Many apps let you:- Schedule by time
- Use sunrise/sunset triggers
- Create vacation “randomize” modes
- Test Remote Control
Toggle lights from your phone to confirm everything works.
If your outdoor lights are far from your router, you may need a mesh Wi-Fi node to keep the connection stable.
Common Mistakes To Avoid
- Using an indoor-only timer outside. Moisture can ruin it quickly and cause a hazard.
- Overloading the timer. Check wattage limits, especially for large landscape lighting systems.
- Skipping neutral requirements. A timer that needs a neutral won’t work properly without one.
- Not checking the breaker size and circuit load. Outdoor circuits may already be close to capacity.
- Messy wiring in the box. Crowded boxes lead to overheating and failed inspections.
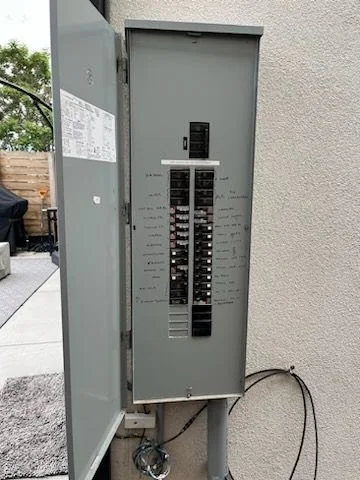
When To Call A Licensed Electrician
You should bring in a pro if:
- You don’t have a neutral wire and your timer requires one
- Your switch box has confusing or non-standard wiring
- Your outdoor lights are on a multi-way switch setup (controlled from two locations)
- You want to add new outdoor lighting circuits
- Your panel is full or outdated
- You notice signs of unsafe wiring like scorch marks or brittle insulation
Outdoor electrical work must meet code and be protected against water exposure. Doing it wrong can lead to shock hazards, tripped breakers, or damaged fixtures.
Setting Up a Timer for Your Outdoor Lights Safely and Effectively
Setting up a timer for outdoor lights is one of the simplest ways to make your home safer, more energy-efficient, and more inviting. Plug-in timers are fast and easy, while in-wall and smart timers offer a cleaner, more permanent solution. The key is choosing the right timer for your setup and installing it safely.
If your wiring is straightforward, this can be a tidy DIY weekend project. If not, there’s no shame in calling a licensed electrician to ensure everything is safe, code-compliant, and built to last. If you ever need help, contact us today to schedule a free consultation.

Table Mountain Electric
Table Mountain Electric Inc. is Denver’s trusted name in premier electrical solutions. From essential services such as electrical panel upgrades and panel replacements to intricate kitchen wiring for your renovation needs, our expertise shines through in every project.