Replacing an electrical outlet is one of the most common home electrical tasks and one that many homeowners feel tempted to tackle themselves. On the surface, it seems straightforward: remove the old outlet, connect a new one, and screw it back into place. But electricity doesn’t forgive mistakes. A poorly replaced outlet can lead to shocks, damaged appliances, or even electrical fires, especially without an upgraded electrical panel.
This guide walks you through how to safely replace an electrical outlet, what tools you’ll need, what to watch out for, and when it’s best to call a licensed electrician instead.
When Should An Electrical Outlet Be Replaced?
Before getting into the how-to, it’s important to know why an outlet might need replacement in the first place.
Common reasons include:
- Cracked, loose, or broken outlet faces
- Outlets that no longer hold plugs securely
- Burn marks or discoloration
- Outlets that feel warm to the touch
- Two-prong outlets with no grounding
- Outlets that stop working entirely
- Upgrading to GFCI or tamper-resistant outlets
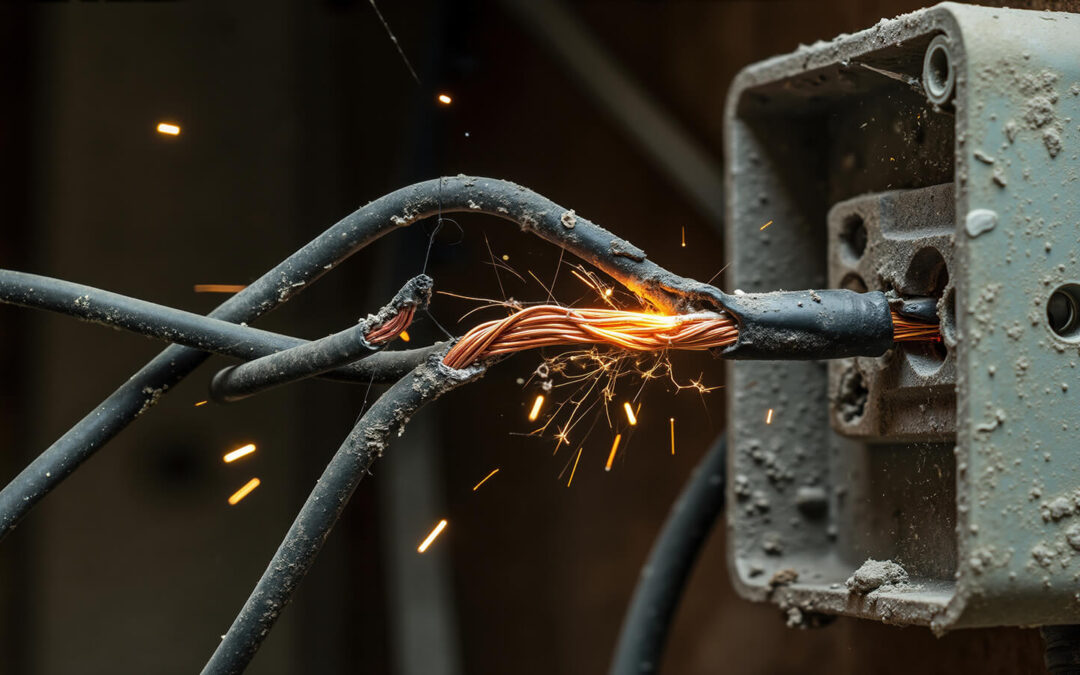
If you notice burning smells, buzzing sounds, or repeated breaker trips, stop immediately. Those are signs of a larger electrical issue that needs professional attention.
Tools And Materials You’ll Need
Having the right tools on hand makes the job safer and smoother.
Basic tools:
- Flathead and Phillips screwdriver
- Voltage tester (non-contact or multimeter)
- Needle-nose pliers
- Wire strippers
- Electrical tape
- Replacement outlet (matching amperage)
- Outlet cover plate
Optional but helpful:
- Flashlight
- Small container for screws
- Labeling tape
Never attempt outlet replacement without a voltage tester. Turning off the breaker alone is not enough.
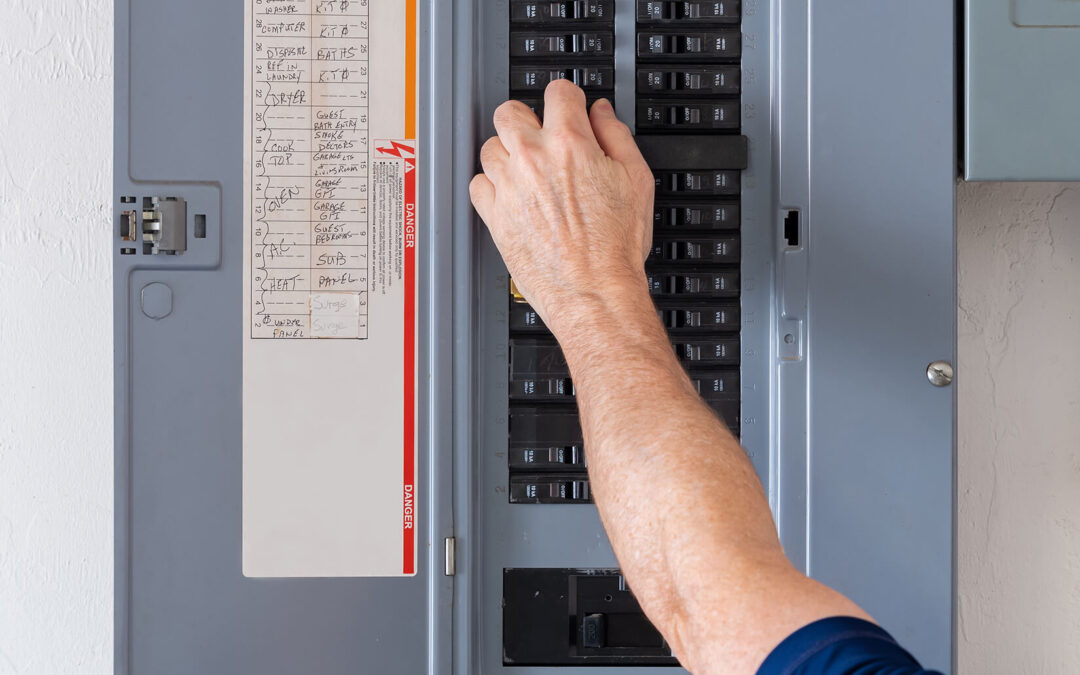
Step One: Turn Off Power At The Breaker
Safety starts at the electrical panel.
- Locate your main breaker panel.
- Identify the breaker controlling the outlet.
- Turn the breaker fully to the “off” position.
- Place a note on the panel so no one turns it back on while you’re working.
Do not rely on wall switches to cut power. Outlets are usually energized regardless of switch position.
Step Two: Confirm The Power Is Off
This step is critical and should never be skipped.
- Use a voltage tester on the outlet slots.
- Test both the hot and neutral sides.
- If your tester indicates power, stop and re-check the breaker.
Only proceed once you’re absolutely sure the outlet is dead.
Step Three: Remove The Old Outlet
- Unscrew the outlet cover plate.
- Remove the two mounting screws holding the outlet to the electrical box.
- Gently pull the outlet straight out.
Take note of how the wires are connected before removing anything. A quick photo with your phone can be very helpful.
Step Four: Identify The Wires
Most outlets will have three types of wires:
- Hot wire (black or red): Carries electricity from the panel
- Neutral wire (white): Returns electricity to the panel
- Ground wire (bare copper or green): Provides a safe path for fault current
You may also see:
- Two hot wires or two neutral wires if the outlet feeds another outlet downstream
- Backstab connections (wires pushed into holes instead of wrapped around screws)
If wires are damaged, brittle, or discolored, stop and call an electrician.
Step Five: Disconnect The Old Outlet
- Loosen the terminal screws holding the wires.
- If wires are backstabbed, release them using the slot or gently pull while loosening.
- Straighten wire ends with pliers if needed.
If the wire ends are nicked or damaged, trim and re-strip them to expose fresh copper.
Step Six: Prepare The New Outlet
Before connecting anything, confirm:
- The outlet amperage matches the circuit (15A outlet on a 15A circuit, 20A outlet only on a 20A circuit)
- The outlet type is correct (standard, GFCI, tamper-resistant)
If upgrading to a GFCI outlet, read the wiring diagram carefully. GFCIs have LINE and LOAD terminals that must be wired correctly.
Step Seven: Connect The Wires Correctly
Follow this order:
- Ground wire → green screw
- Neutral wire (white) → silver screw
- Hot wire (black/red) → brass screw
Tips for secure connections:
- Bend wires into a clockwise hook around the screw
- Tighten screws firmly so the wire doesn’t move
- Avoid backstab connections when possible; screw terminals are more secure
If multiple wires connect to one terminal, use pigtails instead of doubling wires under one screw.
Step Eight: Carefully Reinstall The Outlet
- Gently fold wires back into the electrical box.
- Avoid sharp bends or pinched wires.
- Align the outlet and secure it with mounting screws.
- Attach the cover plate — snug, not overtightened.
A crooked or loose outlet can stress wiring over time.
Step Nine: Restore Power And Test
- Turn the breaker back on.
- Test the outlet with a plug-in tester or device.
- For GFCI outlets, press “Test” and “Reset” to ensure proper function.
If the outlet doesn’t work or the breaker trips, turn the power off immediately and recheck wiring.
Common Mistakes To Avoid
- Forgetting to test for power before touching wires
- Using the wrong amperage outlet
- Mixing up hot and neutral wires
- Overcrowding wires in the electrical box
- Leaving loose connections
- Ignoring signs of damaged wiring
These mistakes can cause overheating, shocks, or fire hazards.
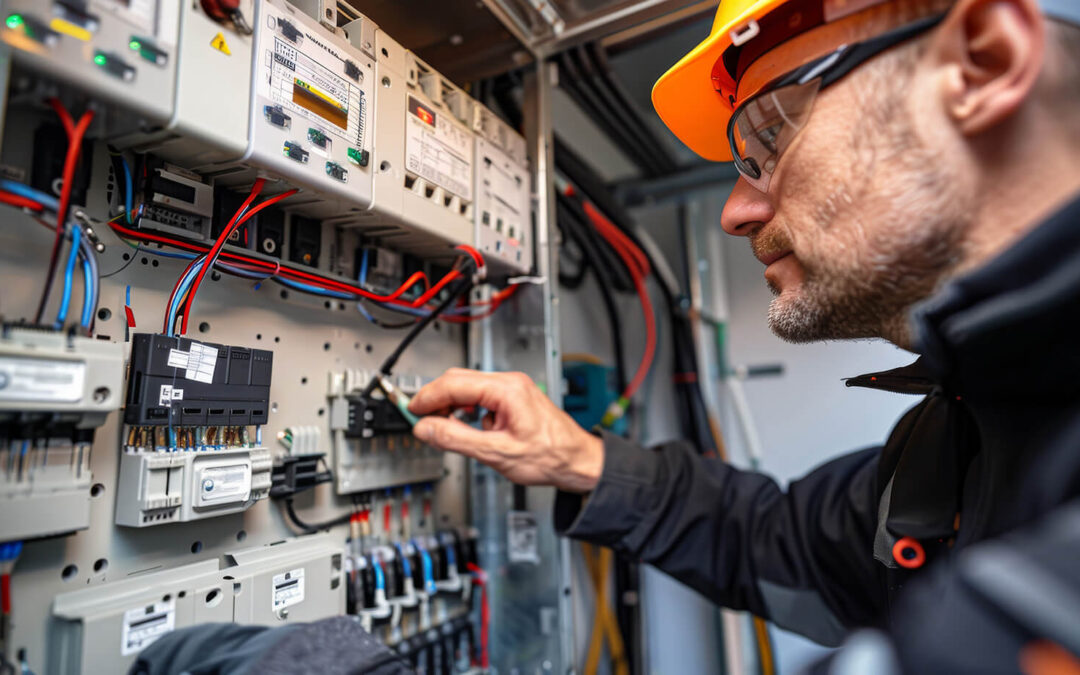
When You Should Call A Licensed Electrician
While replacing an outlet can be a DIY-friendly task, there are times when professional help is the safest choice.
Call an electrician if:
- The outlet box has aluminum wiring
- You see scorch marks or melted insulation
- The outlet is part of a multi-wire branch circuit
- You’re installing GFCI or AFCI protection and aren’t sure about wiring
- The breaker keeps tripping
- The outlet box is overcrowded or undersized
- You’re upgrading multiple outlets or circuits
A licensed electrician can identify underlying issues that aren’t visible at the outlet itself.
Need Help Replacing An Electrical Outlet? Call Table Mountain Electric
Replacing an electrical outlet can be a simple and satisfying home project when done correctly. The key is taking safety seriously, using the proper tools, and knowing your limits. Electricity doesn’t allow for guesswork, and cutting corners can create long-term risks that aren’t immediately obvious.
If you’re unsure about replacing an outlet or you’ve uncovered wiring issues along the way, it’s best to leave the work to a licensed professional. At Table Mountain Electric, our experienced electricians handle outlet replacements, GFCI upgrades, wiring repairs, and full electrical inspections throughout the Denver Metro Area. We’ll make sure your outlets are installed safely, up to code, and built to last.
Request a free quote today to schedule service with a trusted Denver electrician. Your safety and peace of mind are always our top priority.

Table Mountain Electric
Table Mountain Electric Inc. is Denver’s trusted name in premier electrical solutions. From essential services such as electrical panel upgrades and panel replacements to intricate kitchen wiring for your renovation needs, our expertise shines through in every project.